Wooden flower pots made from crates have been some of the most popular containers for balcony flowers for several years. This type of pots are very durable and solid, and also roomy and certainly will last for several years. They only need to be properly made and protected from rain and sun. Here’s how to make your own flower pot.
The wooden flower pot gives many possibilities, because it is made from a fairly large box. The size can be adjusted to individual needs, of course. What’s important, this flower container can be matched to the decor of the balcony, because it readily accepts paint and all sorts of decorations mounted on glue
In the box we can put flowers, herbs, but also shrubs and small trees. The form of insulation is also interesting – it will be made of styrofoam, which will make it easier to store plants in winter (you won’t need to use a plant cover). It is worth remembering that the amount of soil needed to fill the plant must be 2 times larger than the root ball of the seedling.
When constructing a wooden pot do not forget to leave about 15 cm layer of drainage, which will store excess moisture.
Waterproofing is a very important issue, especially with products made of wood. Not only will it make the container shine, but it will also fix the wood structure and make it resistant to sunlight and rain. It is important that the preparation is designed for outdoor use – this information is usually found on the label.
To make a plant box you’ll need:
Starting from the bottom, the first will be Styrofoam, which has an insulating function. It is necessary to leave a gap of 15 centimeters for the drainage layer, so that excess moisture can be stored. Then the box should be lined with building or horticultural foil up to the edges of the box. This is because the soil should not touch the wood in order not to damage it. This protection will ensure that the pot does not rot from the inside. All that remains is to place the soil and plants.
Step I – preparing the boards
Cut the boards into smaller pieces, adjusted to the size you want to get. Then you need to rub the wood with sandpaper to prepare it for applying the impregnator.
Step II – The base of the planter
Select the boards that will form the bottom of the container and connect them with crossbars made of boards. It is important that they extend beyond the bottom by exactly the thickness of the walls.
Step III – side walls
Using angle brackets, join the boards that will form the sides of the box. Make sure one end of each angle reaches each edge of the box.
Step IV – Setting Up the Walls
Drill several large holes in the bottom of the box. The PVC tubes that will be embedded in them will drain water from the container. Place the walls of the pot on the previously prepared bottom.
Step V – joining the construction
Using stainless steel screws, connect the walls to the bottom of the box. Take care that they are screwed precisely. This will prevent the container from not withstanding the pressure of the earth.
Step VI – Styrofoam insulation layer
Appropriately cut polystyrene foam lining the inside of the box, fixing its edges with thermal glue. In the Styrofoam, drill holes in the bottom that will coincide with those created in the bottom of the crate. Place the PVC tubing in these as well.
Step VII – lining the crate with foil
In this step, line the entire crate up to the edges with horticultural film. Staple the material to the edges. Silicone will be useful for filling the gaps around the tubes.
Step VIII – fastening the edging
Screw the edging to the top of the box and coat the whole thing with a layer of waterproofing.
Step XIX – Planting
Pour in the soil and place the plant in it. You can also attach casters to the crate for easy movement.
Wooden box pot will certainly be a great decoration of many a terrace or garden.
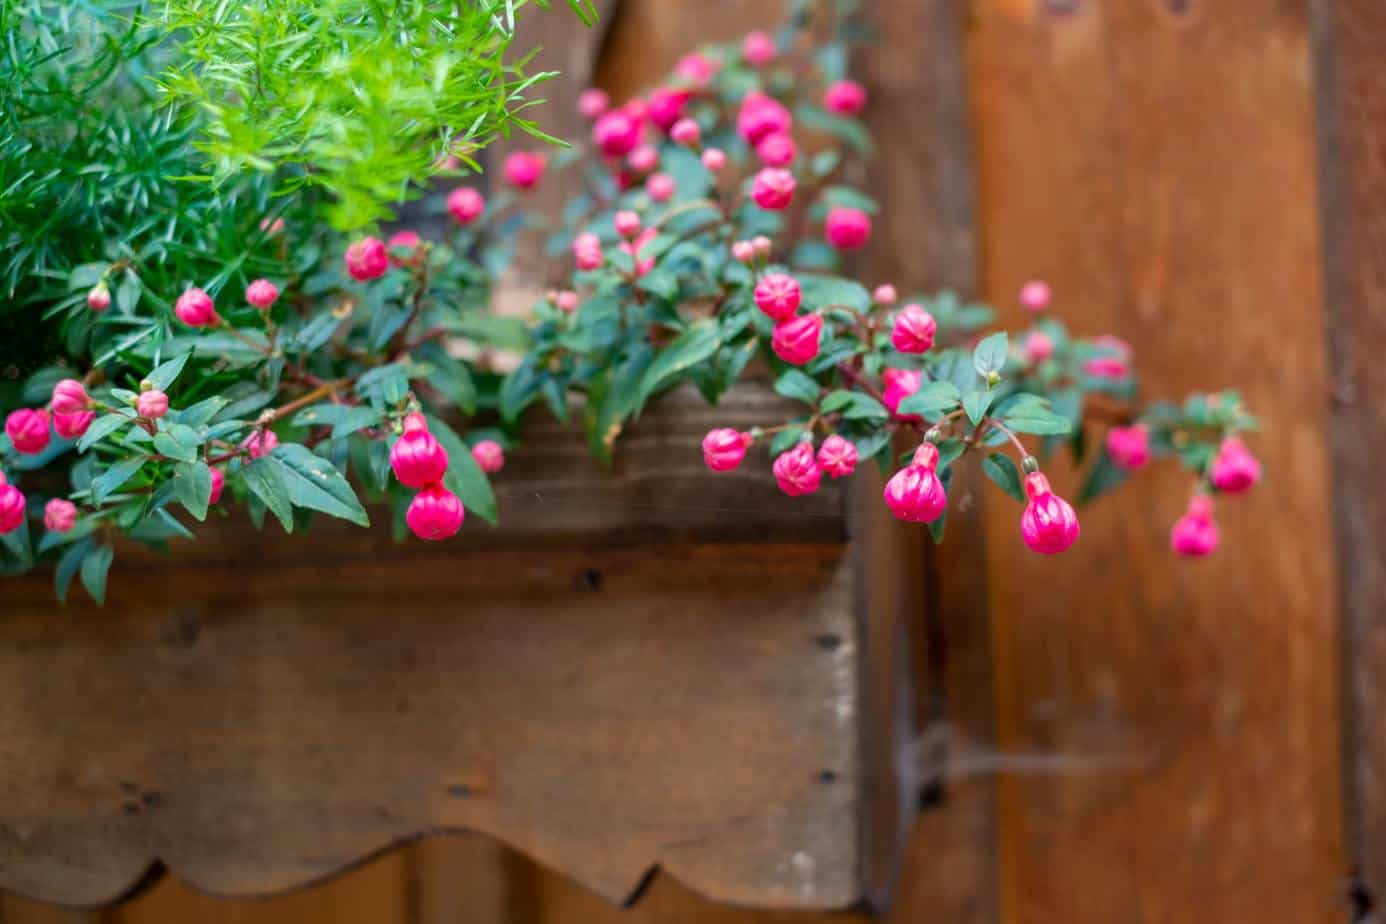
Main photo: Alexandra Smielova/unsplash.com