Orchids (orchids) were once the domain of hobbyists growing flowers in greenhouses, but they are growing in popularity among beginning gardeners. Although they are relatively easy to grow, repotting them can be a challenge. Find out how to do it. Here are the steps!
If you notice white roots growing out of the pot – it’s time to repot an orchid. This is a sign that the flower no longer fits in the old pot and needs a new one. If an orchid’s roots begin to rot, don’t delay repotting it. Otherwise, it will not get enough water and nutrients.
It’s best to repot an orchid right after it finishes blooming, when new growth begins to appear. Prepare: a new pot (look for one that is 2.5-5 cm larger in diameter than your current container), gardening mix, a large bucket or bowl and scissors.
Specialized orchid pots have holes all over to increase air circulation between the roots. However, you can safely use traditional ceramic pots. Place the horticultural mix in a large bowl and pour boiling water over it. Allow the water to cool to room temperature and then carefully filter it.
It is worth reminding here that orchids are very sensitive to bacteria and germs. Prepare a solution of ½ cup (120 ml) household bleach and 4 liters of water. Soak the pot and any tools you use in it. Now wash your hands thoroughly. Gently remove the plant from the pot and wash the roots. Use sharp scissors to cut off any brown or rotting stems. Fill a new pot with the soaked mixture. Place the orchid so that the base is on top of the soil. Using a chopstick, push pieces of soil between the roots. Remember to sprinkle the orchid for a week until you see new shoots.
In the wild, most orchids grow on trees in rainforests instead of putting roots in the ground. You can recreate this environment by using the right mix. You can find soil with pieces of tree bark at popular garden centers. It provides rapid drainage and numerous circulation holes that orchid roots need. In addition, it helps anchor the plants in their pots, ensuring proper growth. You can also use peat moss, which helps keep the roots moist a little longer.
Most orchids require watering once a week. Remember not to do it more often. Otherwise, you may lead to root rot. Place the pot with the orchid on a window sill facing east or west. Once a week you can fertilize the orchids with a special preparation. If you want to repot them, wait until they stop blooming.
The orchid family includes more than 880 genera and more than 22 000 species. This number is steadily growing, so orchids are the largest and most diverse category of flowering plants. Most orchids grow in tropical climates as epiphytes or “air plants” suspended from trees. Some orchids are lithophytes, or rock plants. In addition, we can distinguish terrestrial species that grow in the clay debris of the jungle floor.
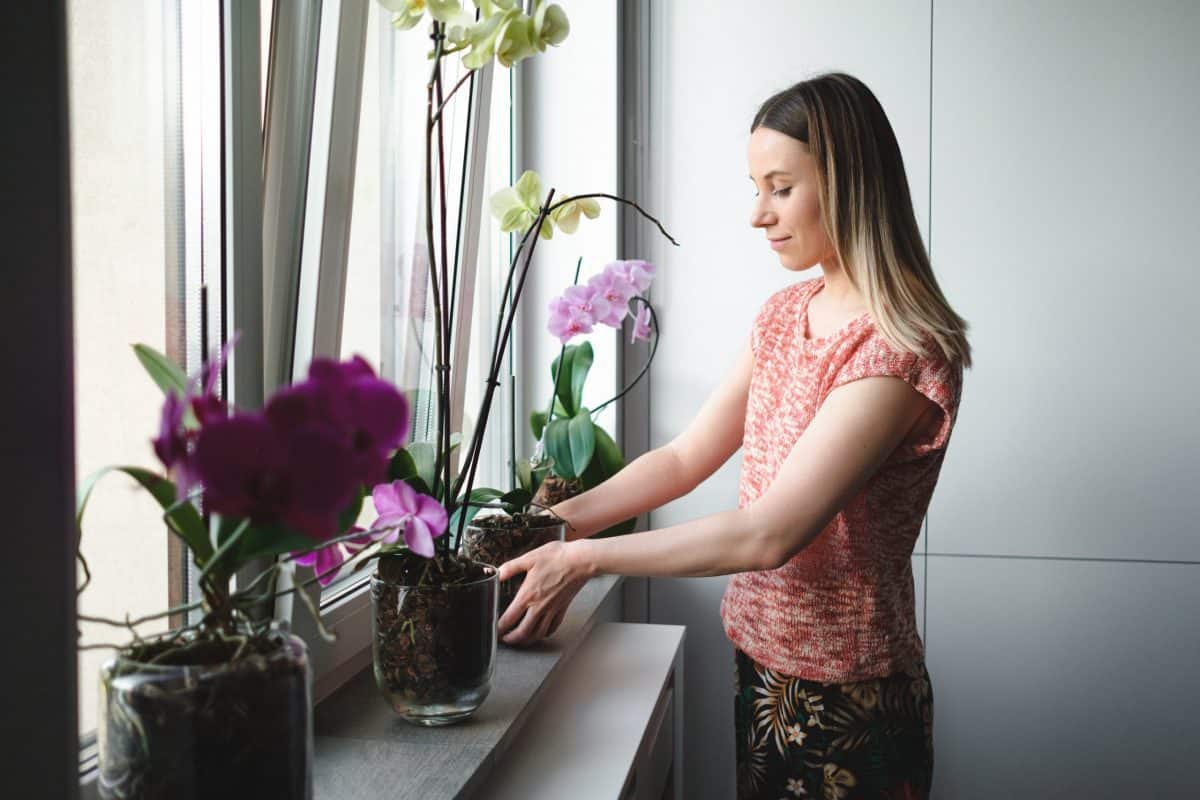
Traditionally, orchids do not grow in pots. For our convenience, however, we put them in containers that help to maintain moisture around the roots. Getting a good moisture balance is very important for optimal orchid care. To monitor the condition of the roots, look for transparent pots – they will also allow photosynthesis and let some light through
Place orchids in the smallest pot that the roots will fit into. When the time comes, move them to a larger container. Orchids grow well in permeable soil that can be amended with moss or bark. They thrive best at a temperature of 16-24 degrees Celsius. Take care of gentle air circulation so that you can enjoy beautiful, large flowers.